One of the questions I have for sashiko is what are the defining characteristics of the technique and practice.
There is a method of making stitches (unshin) and then there is a set of traditional patterns which are used for various styles and regional variations of sashiko. Are both required for a piece of embroidery to be considered sashiko? Or is one more important than the other? Has this changed over time as the reason for sashiko evolved from a necessary survival practice among the working class to a officially recognized regional craft and now as a culturally dislocated technique used by the visible mending movement in the west?
I don’t have enough insight into the sashiko community or the history of the craft to have any way of answering this question for myself.
The reason I ask this is I recently finished a panel of sashiko on indigo cloth with white thread that uses the unshin stitching technique but does not follow the existing patterns that I have seen in my books or online.
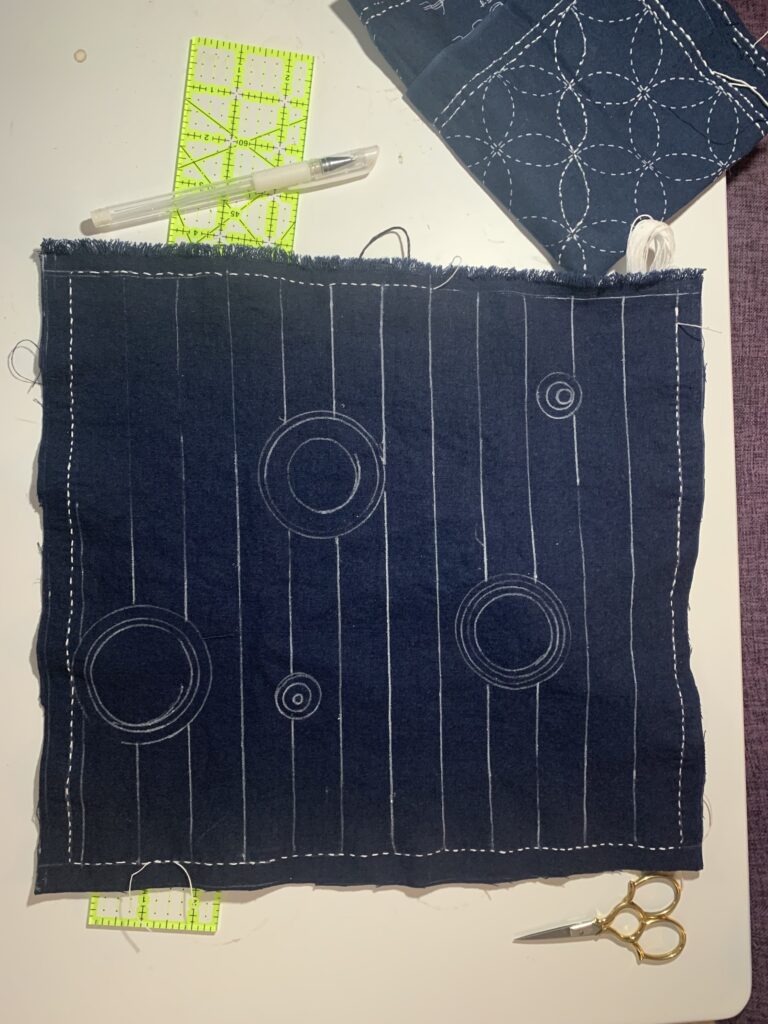
Here I have my drawing of the pattern and the boarder filled in most of the way. As you can see this is just a few concentric circles with some parallel lines. I was inspired by an uncredited image posted to pinterest depicting a split circle with vertical lines seemingly depicted by stitches. Or short dashes of paint. Difficult to tell.
Needless to say this in no way resembles any existing sashikaso pattern I’ve seen.
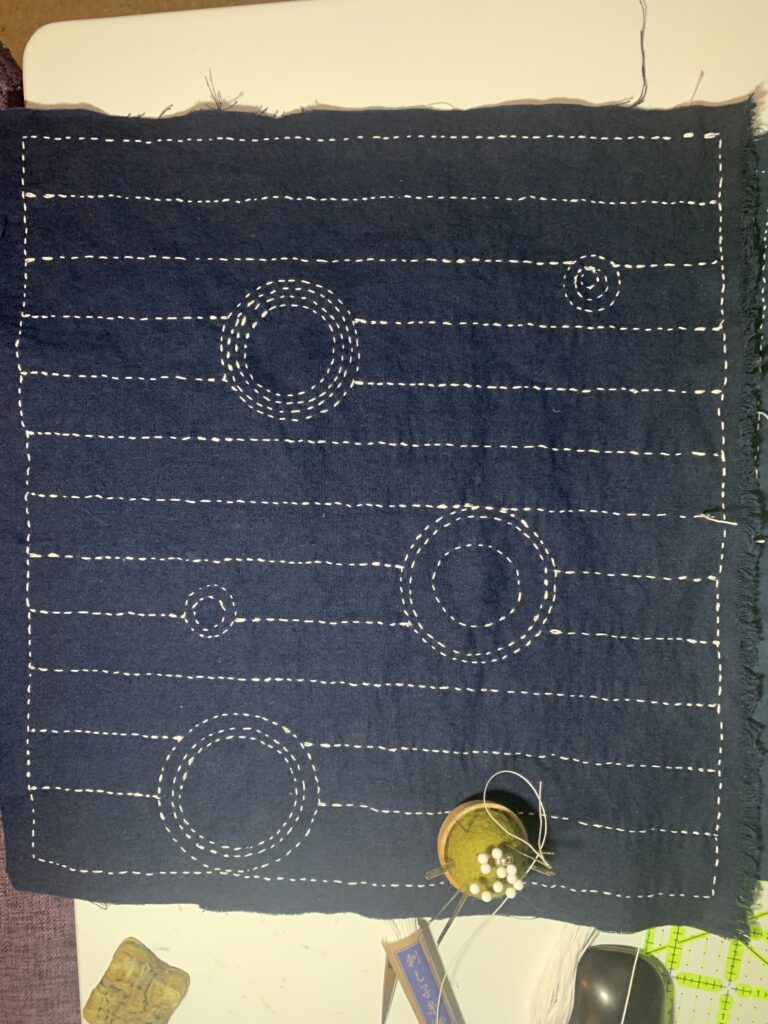
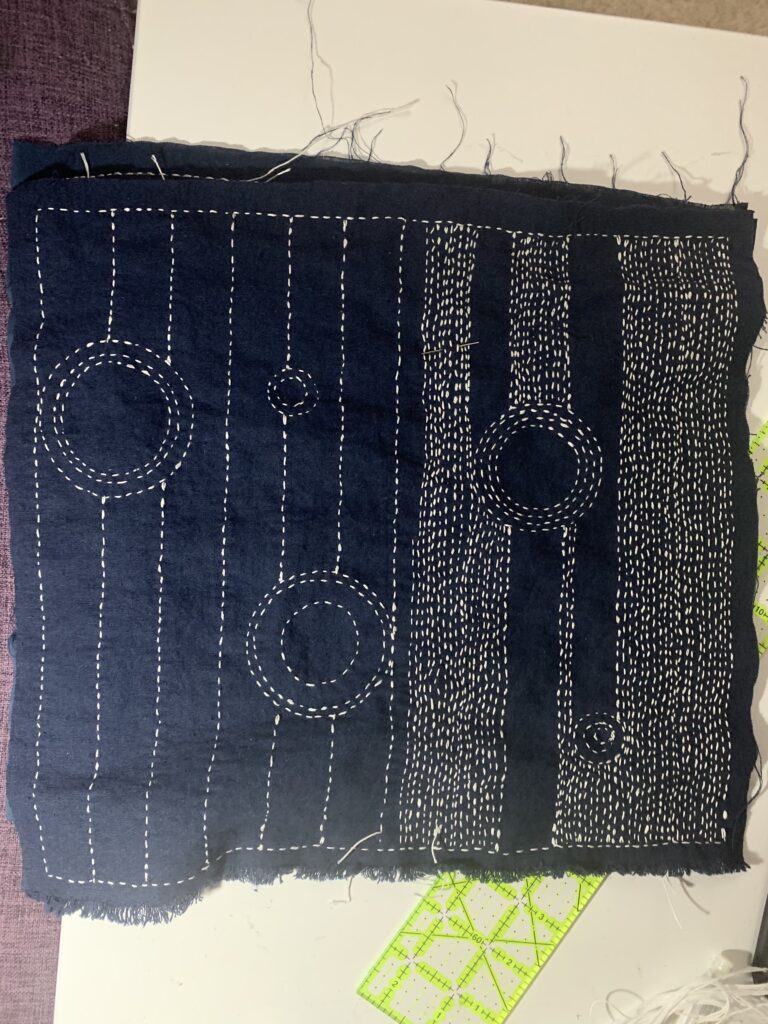
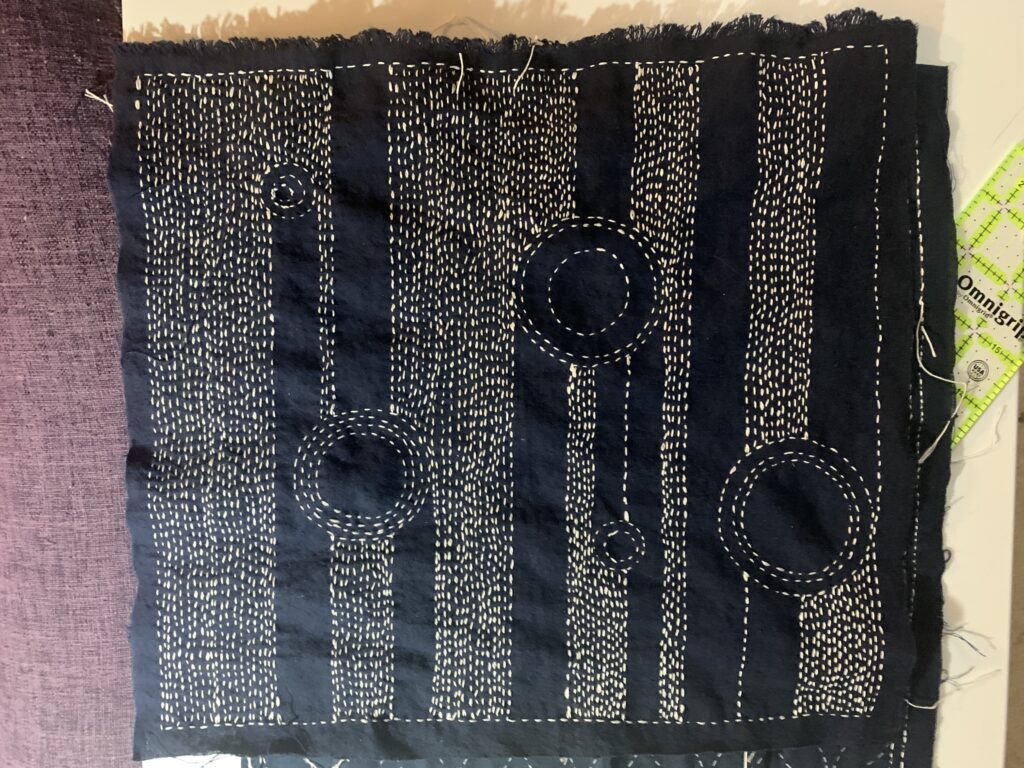
As can be seen by these work in progress photos this was a fairly straightforward process. The only difficulty in stitching were the circles as the tight radius on some of them required me to use a tailor’s thimble and shorter needle to get around the traced pattern with any accuracy. I tackled the circles first as they were the most difficult part and then moved onto filling in the lines of parallel stitches. Initially I had planned on filling in all the spaces but decided that leaving some negative space using the circles and parallel boundaries as guides would give it more interest.
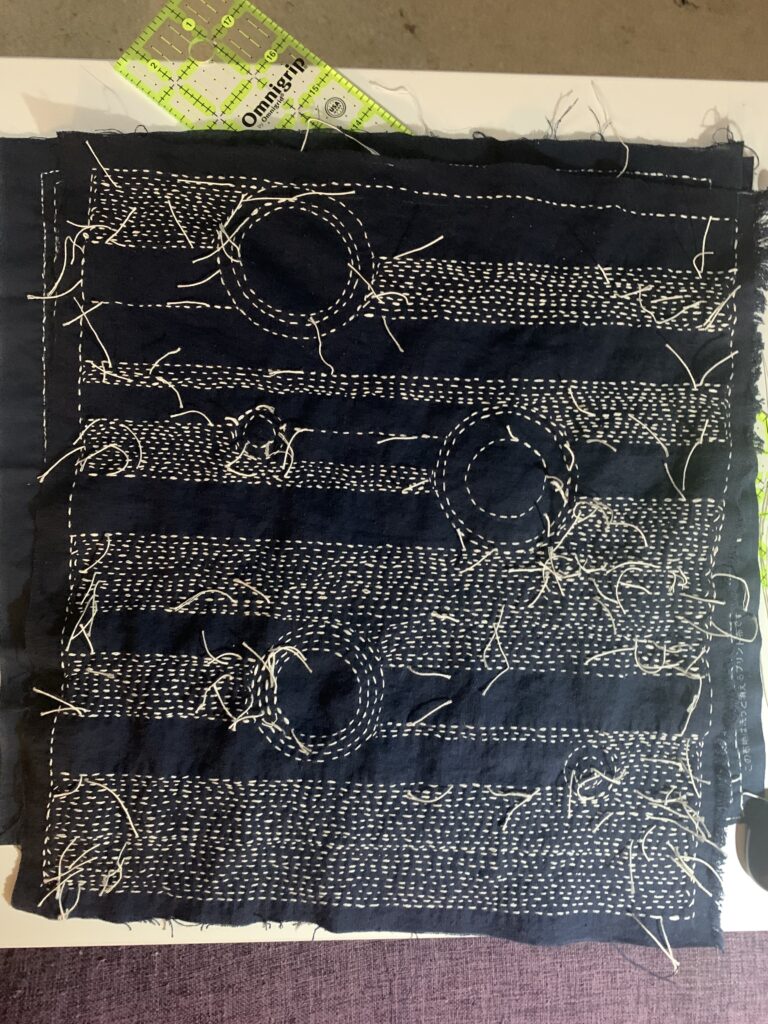
After that decision it was a simple matter of just stitching back and forth. I used the kasane method which involves overlapping your threads by a few stitches at the beginning and end of each thread as a way to avoid using knots to secure the thread into the fabric. Once the embroidery was complete I soaked the piece in water for about an hour and then let it dry. The multiple strands that make up each strand of sashiko thread will relax in the water and then re-twist as they dry locking the threads together (as I understand the technique). Once that is done the ends can be clipped off.
While there isn’t a defined front or back to the piece (as I still don’t know where I’ll use it) I tend to keep my work on one side (which becomes the back side) as its easier to clip your ends and keep things orderly if you’re only working from one side.
When hitting the edge of the piece I didn’t leave enough slack when turning the piece and starting a new line. This did cause some issues where there wasn’t enough slack in the thread as it was turned back around at the end of a row and that caused puckering. I just clipped the threads there, pulled several stitches free and then used a short strand of thread to fill in the gap. There was more work to do but no harm done in the long run. Still, a good thing to note in the long run.
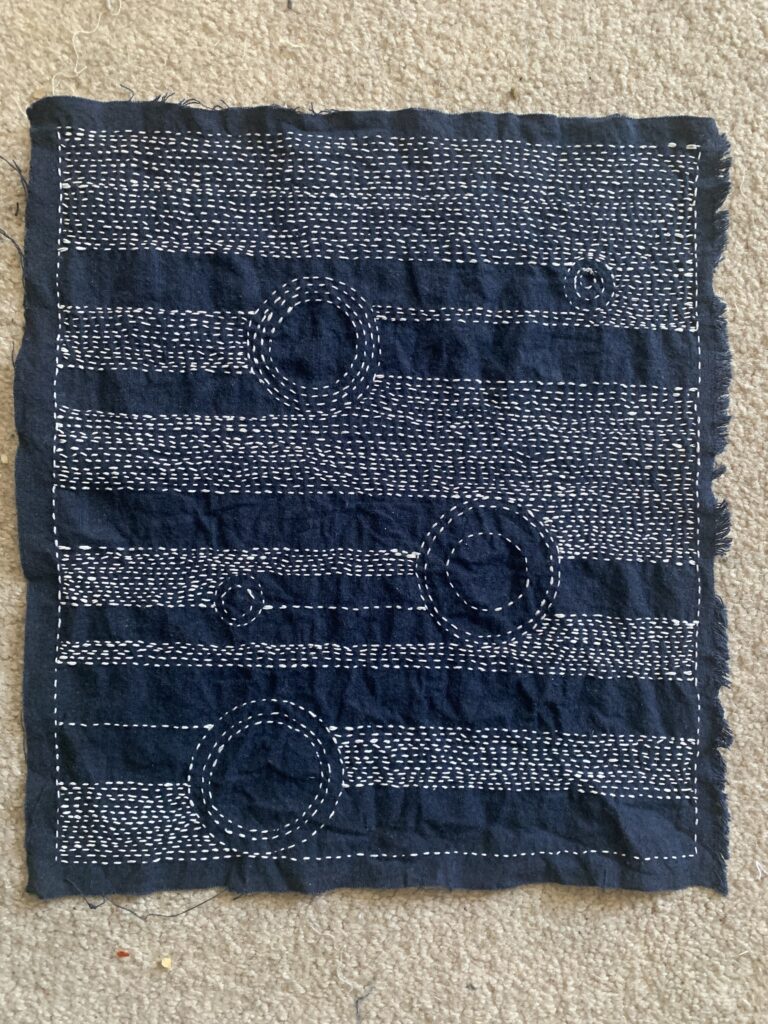
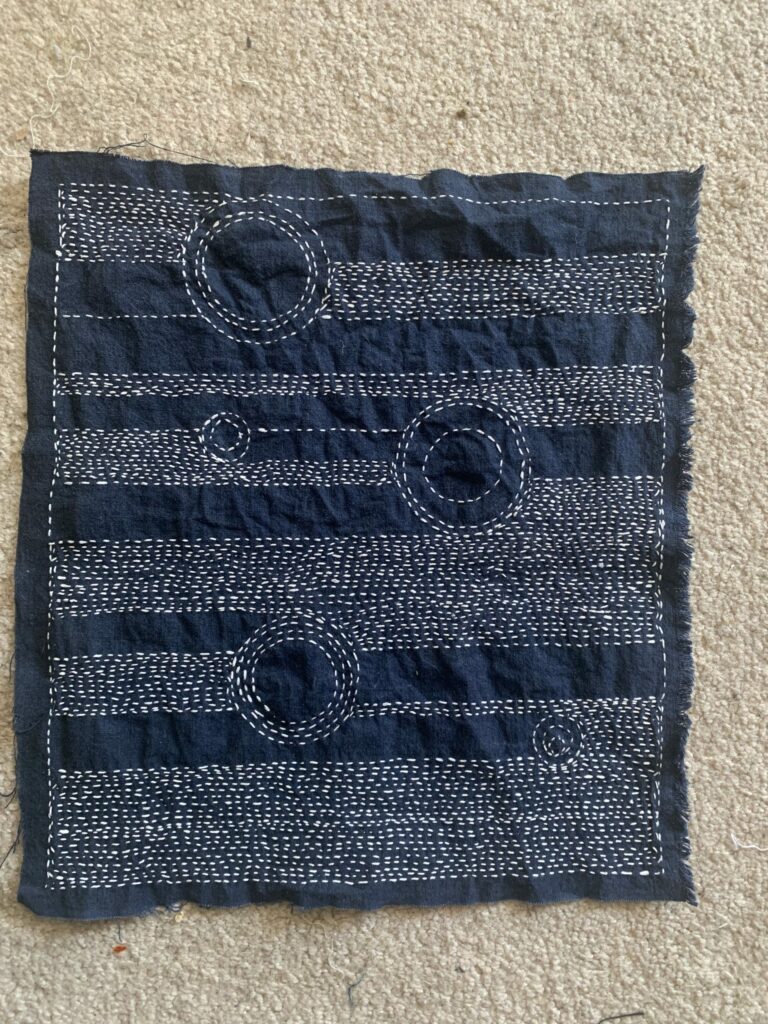
Now we have the finished piece. This has been soaked in water and then allowed to dry overnight and the loose threads were clipped. This is a front and back view of the piece and as you can see there there are no knots and the pattern is essentially the same on both sides. Some areas of the stitching are a little thicker due to the overlapping threads but I don’t find this distracting.
I do like the how it turned out and am interested in pursuing more pieces like this one. Again, I don’t know if this is sashiko because it uses a specific stitching technique or if not sashiko because it doesn’t use the traditional patterns.
One area I want to improve on is my drafting techniques. Even though this uses simple shapes, I lacked precision as the disk protractor I was trying was a plastic piece of shit and didn’t rotate smoothly. Nor did I ensure that the initial guides that I drew in were square with the borders. I think having the loose organic lines works far better if its set up against a very well defined and regular geometric shape. Something to work on.
