Some time ago I started… and mostly but not quite finished a victorian men’s shirt on a pattern from Laughing Moon Merchantile.
As part of learning sashiko I had gone back and embroidered the linen shirts that I had sewn two apartments and several years ago. This was not the best idea as the fabric was lightweight linen.
These shirts were traditionally the base layer for men and worn against the skin so using a less opaque fabric wasn’t an issue as a waistcoat and jacket would be worn over them. Lightweight means a looser weave which means it distorts if you look at it funny. So just the action of drawing a fabric pen across the fabric will draw it out of true, even with a quilting ruler clamped down on the surface to guide the pen. I will go into my ongoing issues with drafting patterns in another post.
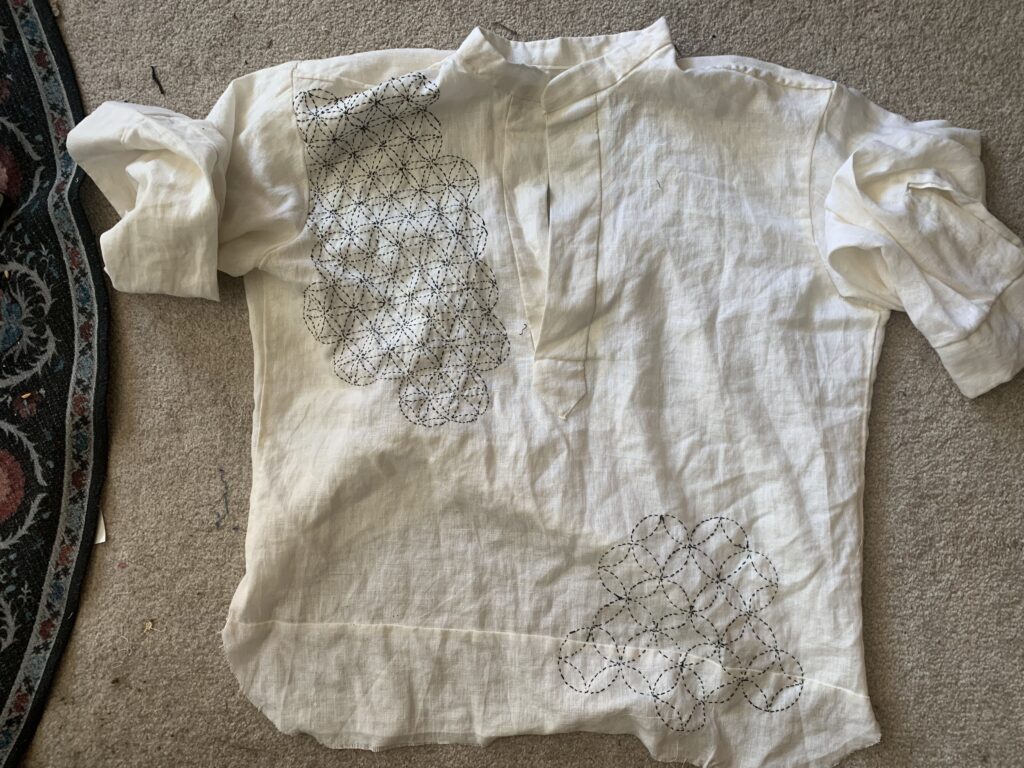
At the current time the shirt has already been embroidered with two sections of sashiko patterns. For these I used a stencil which did allow me to get a clean pattern on the shirt but also took a very long time. I do not think that I’ll be using the stencils going forward.
The seam at the bottom of the shirt is due to me cropping the length of the shirt too short and needing to add a bit back. These shirts were the undergarment so they were very long and tucked into the pants. As I wanted to modernize the look of the shirts I shorted them and cut too deeply. So I pieced some of the scrap back on. Piecing fabric was a period practice. At least that’s the excuse I’m using.
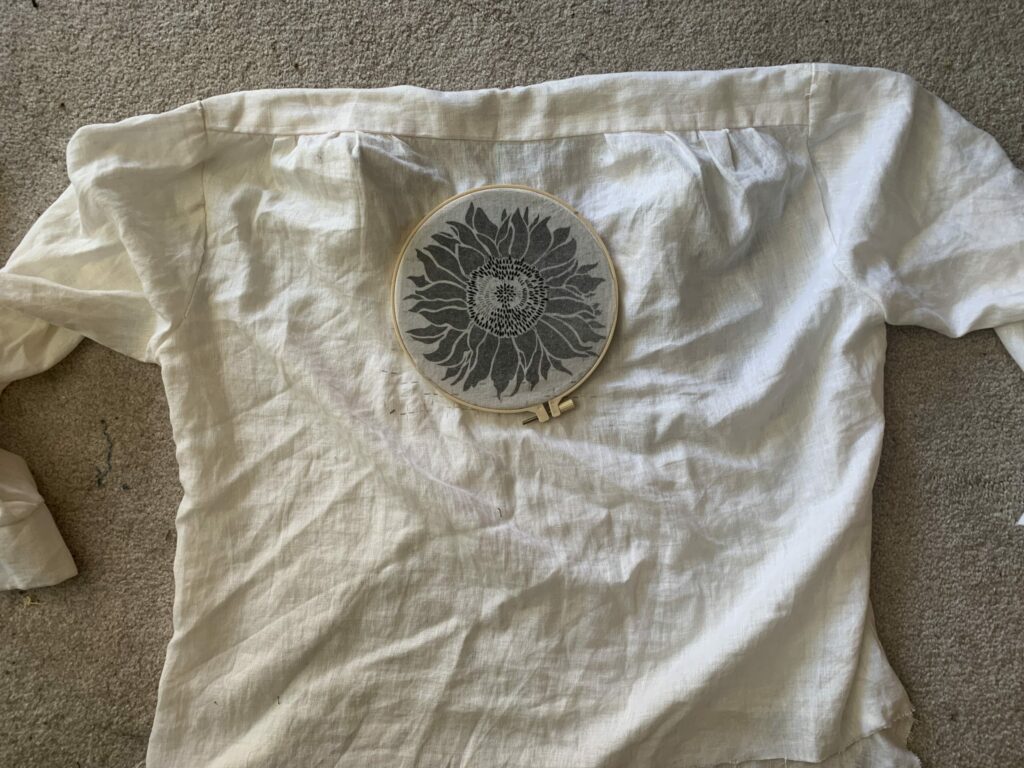
The pattern itself was found online in a free vector art site. I printed it out on my laser printer on a printable stabilizer, cut out the pattern, and then attached the embroidery ring.
I had started the pattern using sashiko thread as I didn’t have embroidery floss. This was a mistake. As Mr Natural says, use the right tool for the job.
After picking up some embroidery thread I was able to separate the threads into proper sizes for each mark on the pattern. I plan on finishing in the center and then working on the petals of the flower.
I’m planning on using tapestry silk shading which uses a single direction of stitching to mimic the feel of a tapestry. As this is a stylized sunflower I felt that would be a better match. Since this design has radial symmetry I’ll use a polar coordinate plane rather than a cartesian one (if I’m remembering my high school algebra correctly) and have the line be from the center of the flower outwards. Otherwise I foresee this being an absolute pain in the ass to accomplish.
Natural silk shading uses directional stitches to give a more naturalistic flow to the threads and give contour to the image.
I expect that this will take a while so will provide project updates here and on instagram.